This document is compatible with the following GNSS receivers:
If you have a GNSS receiver of the type GNSS100L or GNSS200L, please refer to this blog post.
You might have noticed that certain GPS receivers that used to work with older GPS applications on Windows, like Microsoft Streets and Trips, are no longer compatible with newer GPS applications such as Windows Maps. Have you ever wondered why?
In the past, GPS apps would typically establish a direct connection with GPS hardware using a COM port or a virtual COM port emulator linked to a GPS receiver.
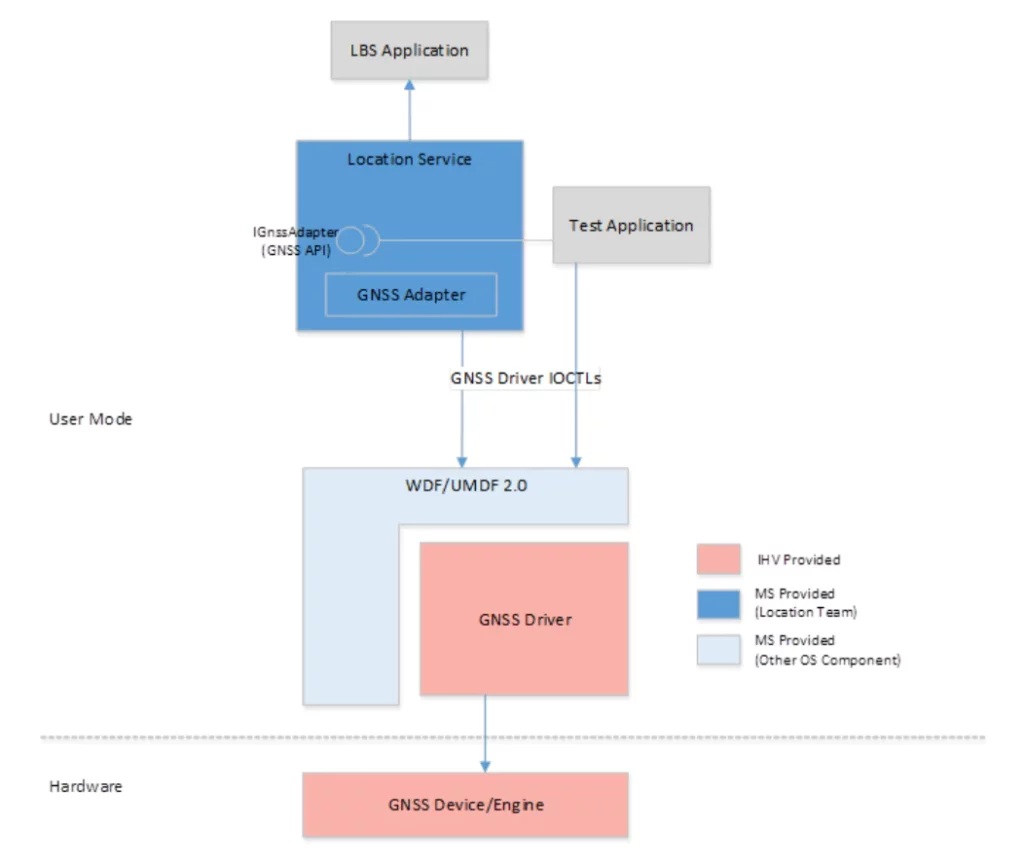
However, with the introduction of Windows 7, Microsoft developed a built-in platform that supports sensor devices, including location sensors. As part of this platform, the Windows Sensor and Location Platform was created, offering a standardized approach for apps to connect with GPS/GNSS hardware. This platform provides developers with a unified API that specifically caters to working with sensors and sensor data.
Most current Windows applications, including Windows Maps, no longer directly access GPS hardware. Instead, they rely on the location API provided by the Windows Sensor and Location Platform. This shift in approach is why older GPS receivers are no longer compatible with the new apps.
As of 2023, there are still not many GPS/GNSS receivers that natively support the Windows Sensor API or Windows Location service. To our knowledge, some Ublox chips GNSS receivers come with Windows sensor drivers and natively support the Windows Location service.
The Columbus P-9 Race and TOP608BT GNSS receivers utilize u-blox GNSS chips and are compatible with the Windows Location service. To enable this functionality, you will need to download and install the u-blox GNSS Sensor Device driver for Windows 10/11. You can find the driver download link below.
u-blox GNSS Sensor Device driver for Windows 10 /11
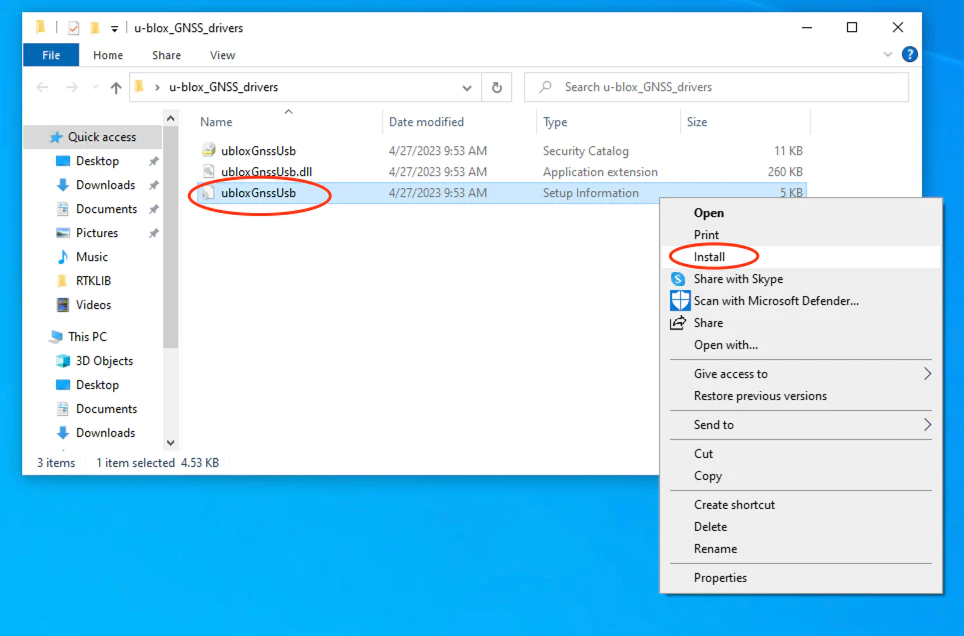
To install, simply extract the downloaded file and right-click on “ubloxGbnssUsb.inf”. Then, select “install” from the options.
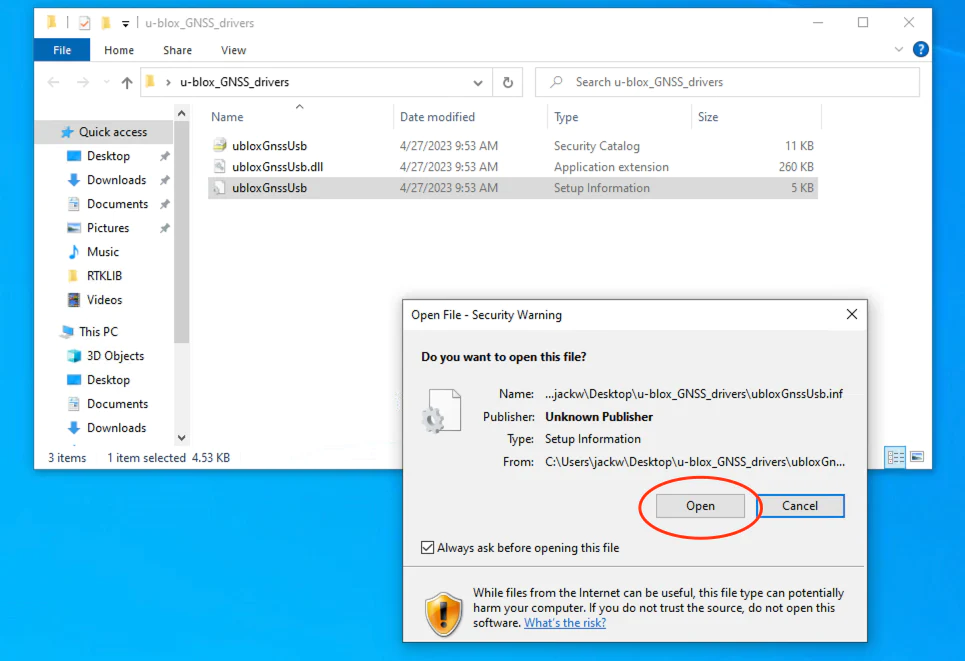
If a security warning window appears, simply click the “open” button.
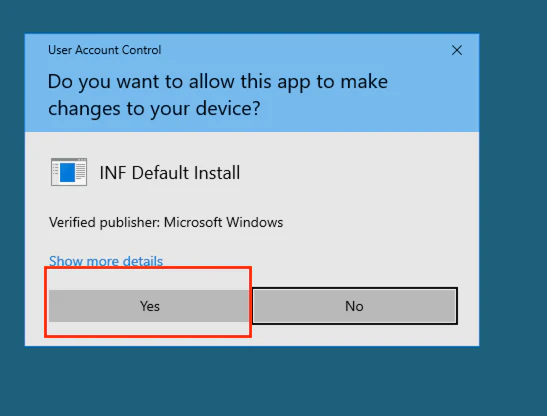
If the User Account Control window appears, please click the “Yes” button, as illustrated below.
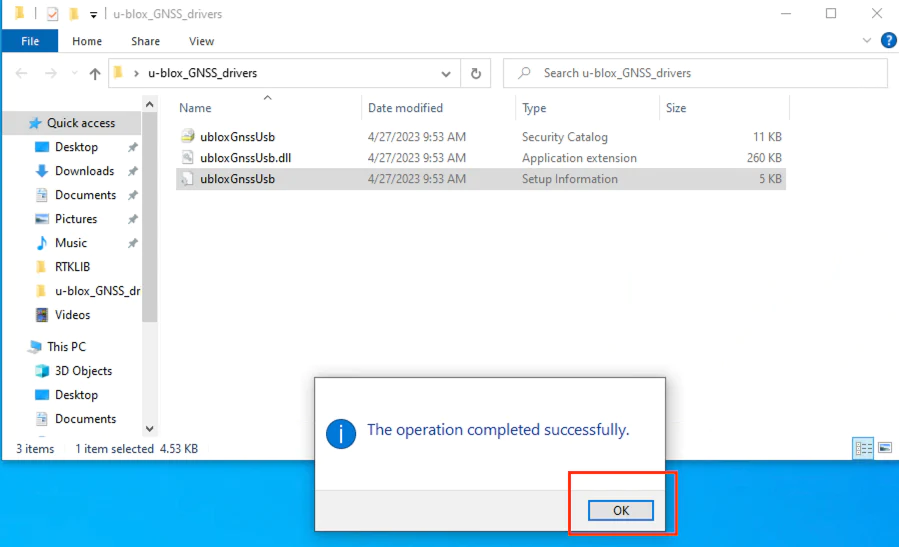
After that, you will encounter a window displaying the message “The operation completed successfully.” To proceed, simply click the “OK” button.
Please open the “Device Manager” and proceed to connect the GNSS receiver. Once connected, you will observe that the GNSS receiver is recognized as “u-blox Universal GNSS” within the “Sensors” section.
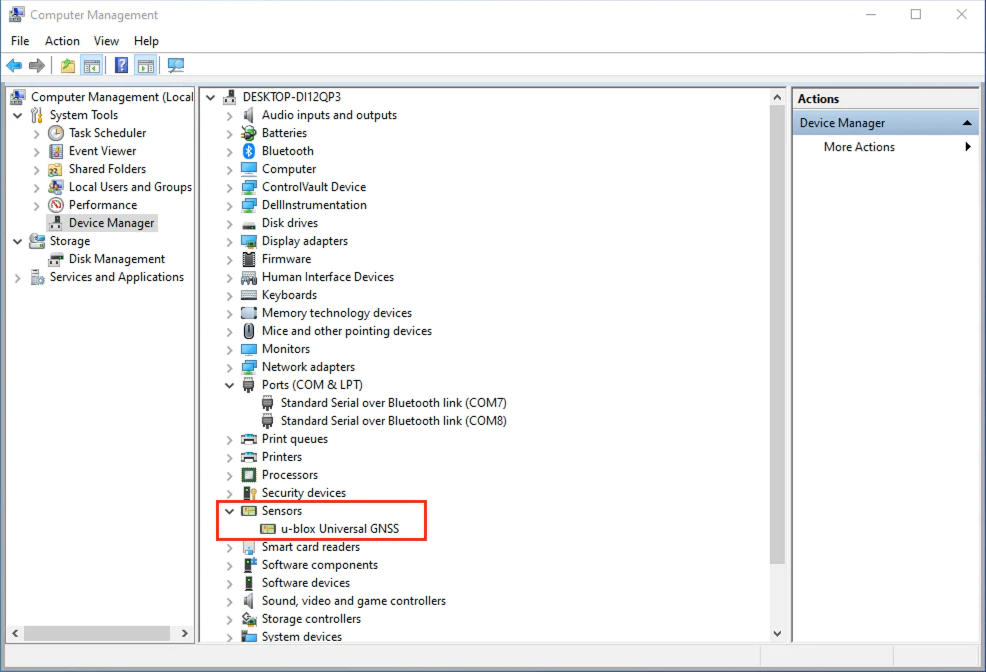
By the way, you might have noticed that before installing the new driver, the USB GNSS receiver is using the default Windows driver, identified as “USB Serial Device” in the “Ports (COM & LPT)” section. Please refer to the below screenshot. Once the new driver is installed, the “com” port device disappears, and a “Sensor” device is now visible. Please refer to the above screenshot.

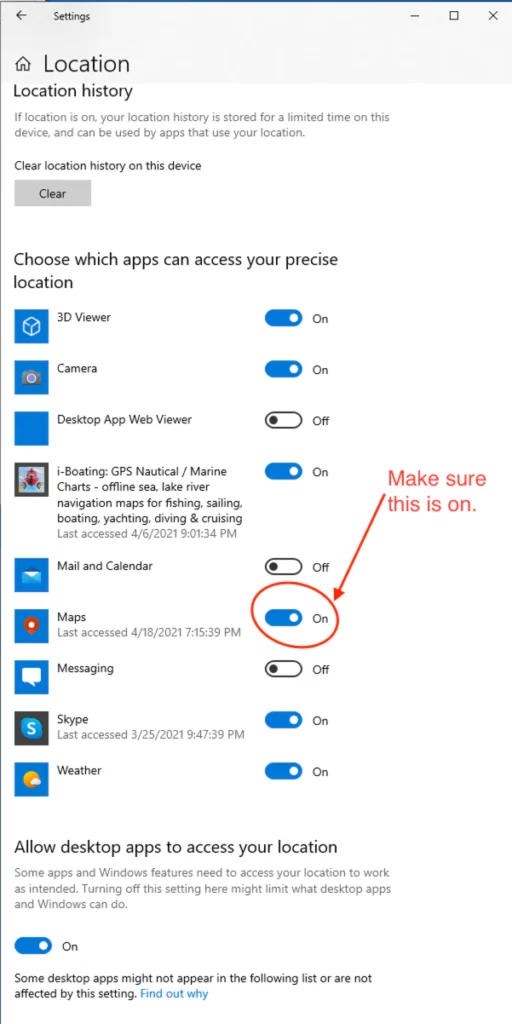
At this point, you have successfully finished installing the u-blox GNSS Sensor Device driver for Windows 10/11. Please verify the following steps: Click on “Start,” navigate to “Settings,” then select “Privacy” and “Location.” Make sure that “Maps” is enabled.
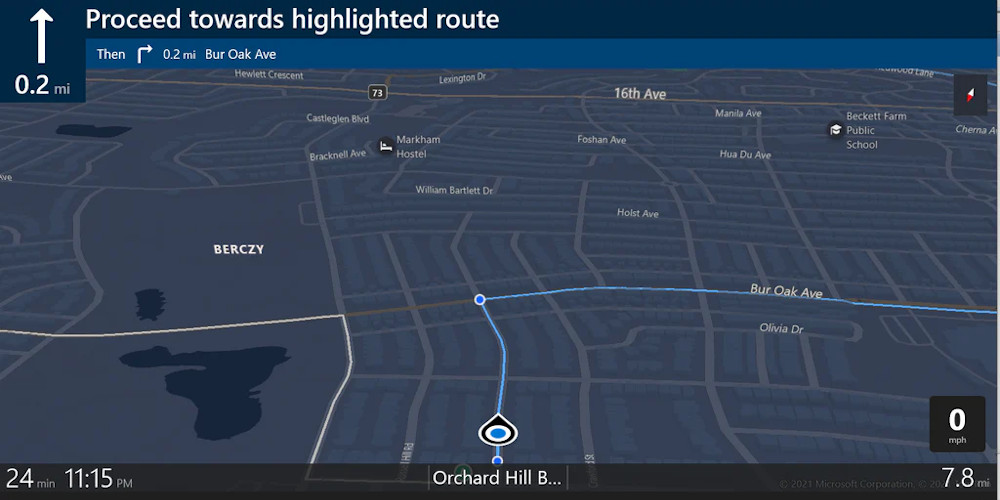
Lastly, please open the Windows Maps application.
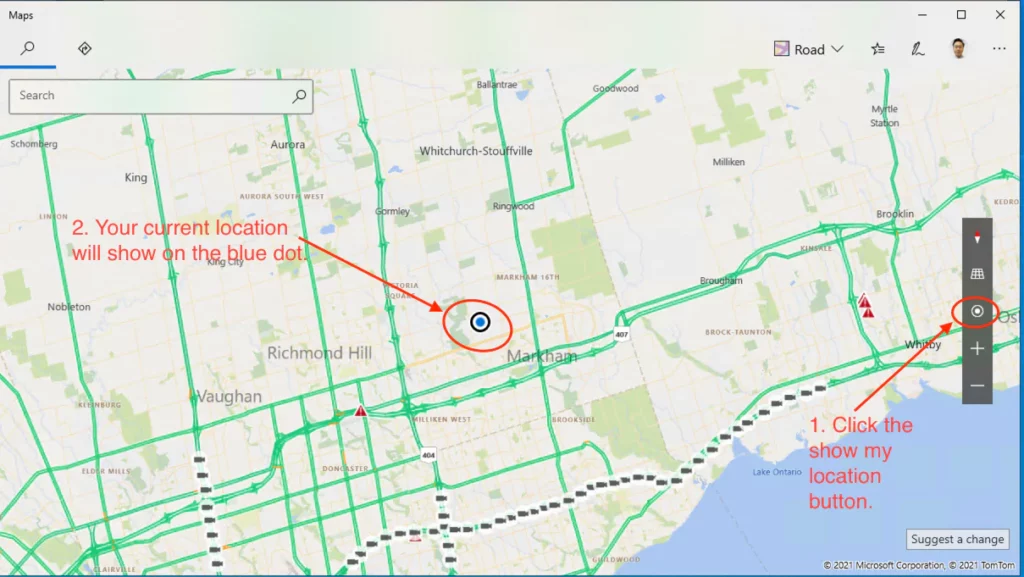
Click on the “Show my location” button. If your current location is displayed on the blue dot, it means that the “Location service” from your USB GNSS receiver is functioning correctly. If you want to verify that the location is not being determined by Wi-Fi but rather by the external USB GNSS receiver, you can temporarily disable Wi-Fi and test it again.
If you’re looking for a RTK GNSS Receiver mentioned above, you can purchase it from:
https://gpswebshop.com (US & WorldWide)
https://canadagps.ca (Canada)