
Prerequisite:
- Navisys GR-9029 RTK GNSS Data Logger
- Android phone or tablet with internet access.
(Internet access is required for streaming NTRIP correction data to an internet NTRIP caster.)
Setup Instructions:
- To utilize the GR-9029 portable RTK base, users need to initially download the free “BLE_RTK” app from the App Store.

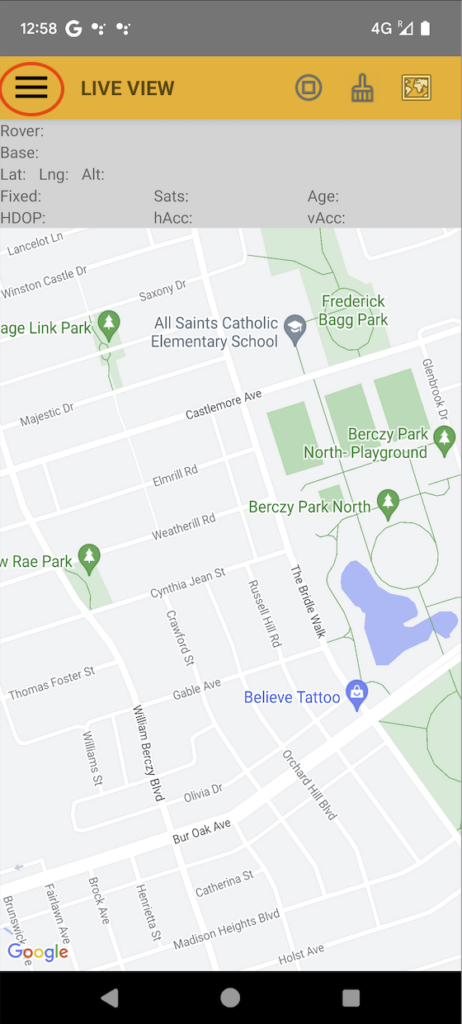
Here’s a screenshot of the app for your reference.
2. Open the app and tap the hamburger icon to open the menu.
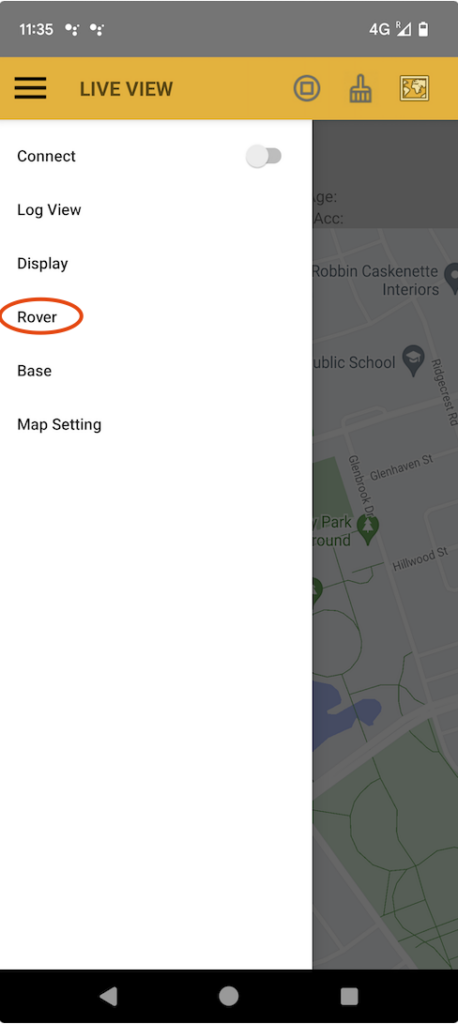
3. Tap “Rover”.
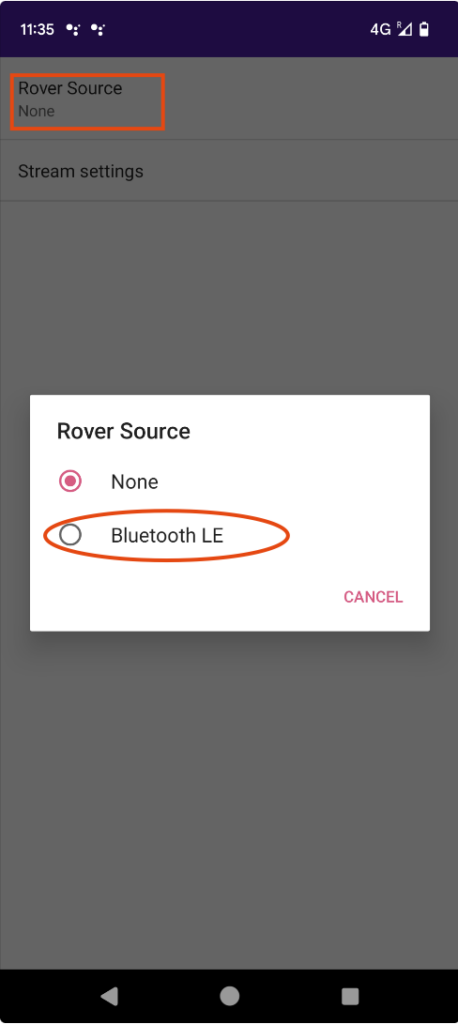
4. Tap the Rover Source, then select “Bluetooth LE” as the Rover Source.
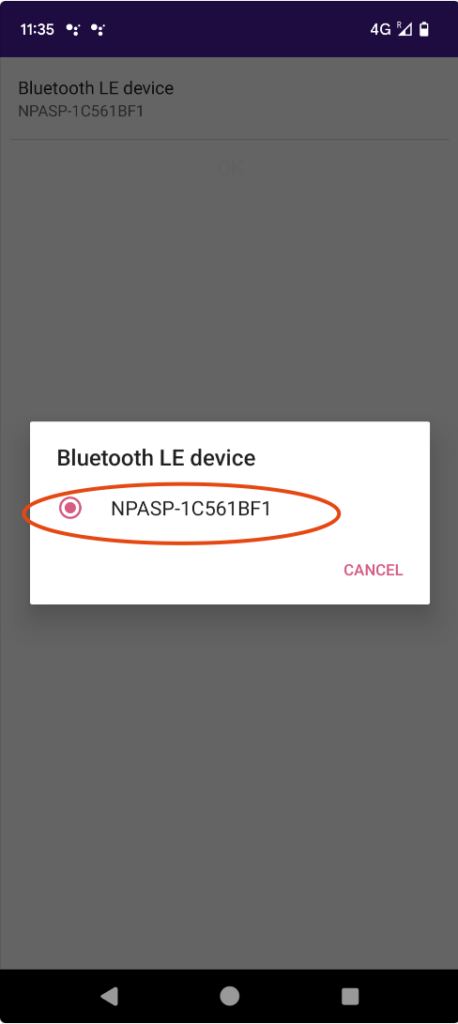
5. Please make sure your GR-9029 RTK GNSS data logger device is powered on. Tap the “Stream settings” and further tap the “Bluetooth LE device”. From the list, choose the GR-9029 device with a name similar to “NPASPxxxxxxx.”
After go back to previous screen, you can also enter the “phase center offset” and “antenna reference point” values. We have a brief document explaining these two parameters. (These 2 parameters can be applied to either Rover settings or Base settings.)

6. Tap the back button to return to the main screen. Then tap the hamburger icon and select the “Base” menu.
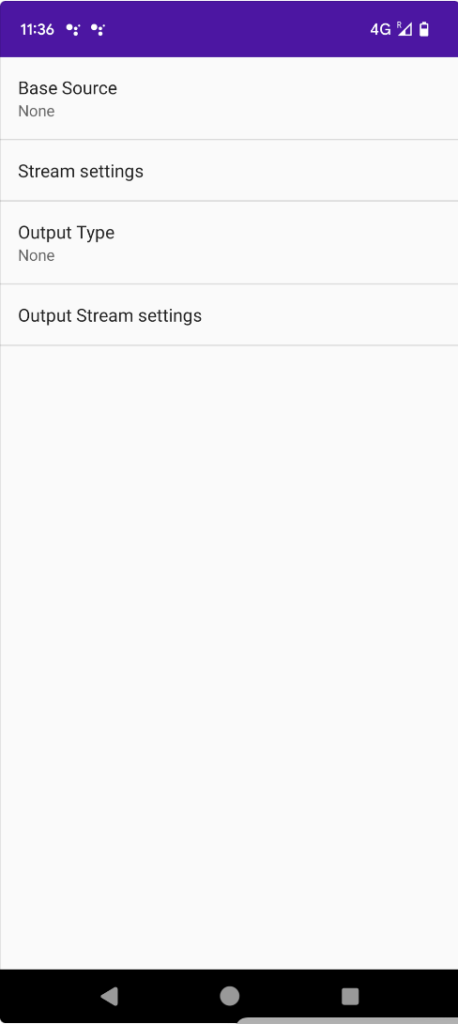
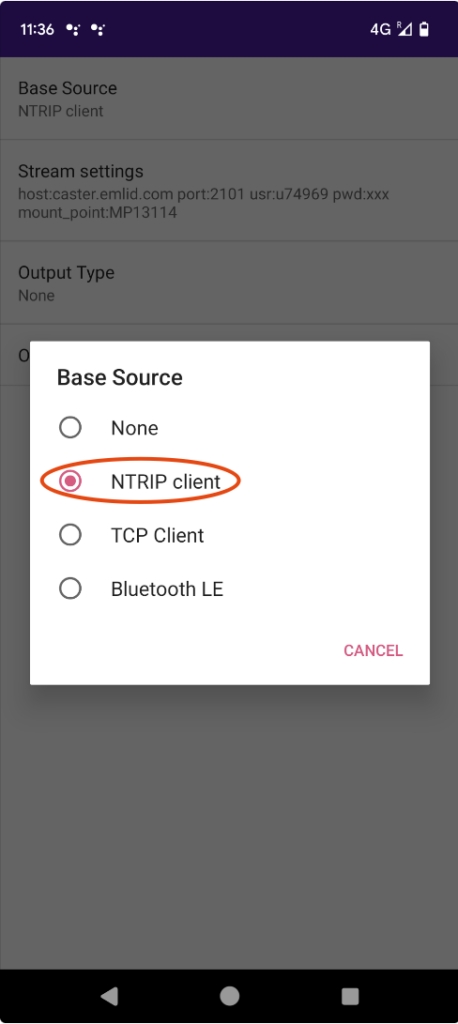
7. Tap “Base Source”, select “NTRIP client”.
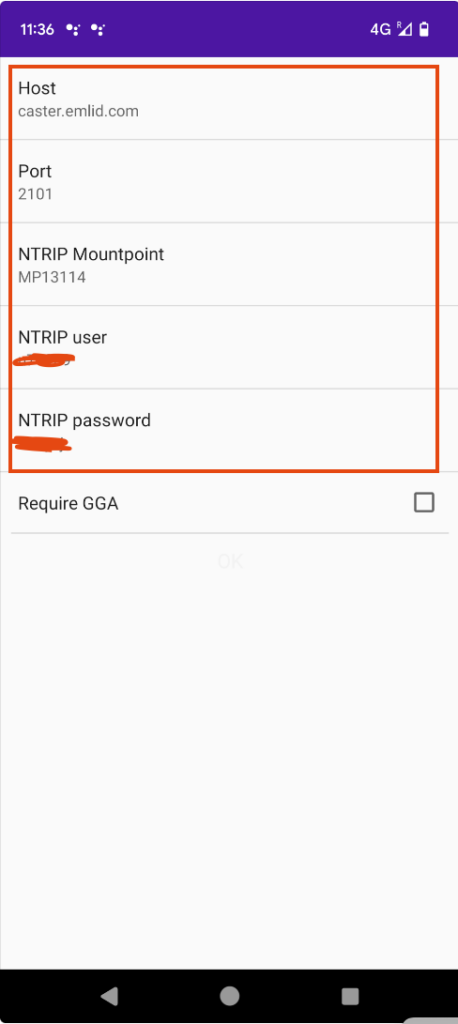
8. Tap the “Stream Settings”. Please input your NTRIP caster mount point settings including Host, Port, Mount Point, user and password. These NTRIP settings are typically supplied by your NTRIP Caster provider.
In case you don’t have a NTRIP caster provider yet, you could use GeoAstra NTRIP Caster. It comes with a few service plans including “free” plan. Please visit www.geoastra.com and register. GeoAstra NTRIP Caster is incredibly user-friendly. With just a few clicks, you can sign up and obtain your free NTRIP caster mount points, and start using them in under 20 seconds.
You’re all set with the necessary settings. These settings only need to be inputted the first time.
Operation Instructions:
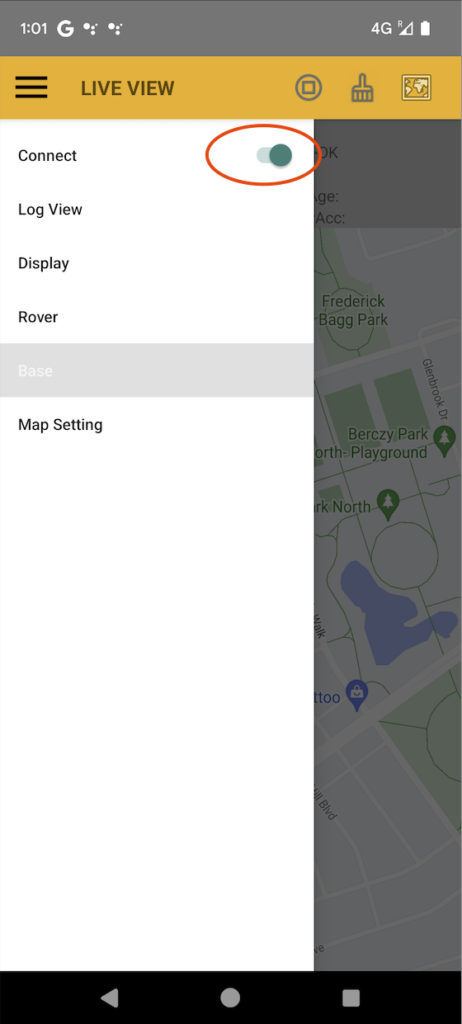
Whenever you wish to use the RTK GNSS logger, simply power on the GR-9029 device. Turn on the “connect” switch in the hamburger menu in the BLERTK app.
(It’s advisable to position the GR-9029 under an open sky without obstructions like trees or buildings. Ensure that your mobile phone running the BLERTK app is within a range of 100 feet from the GR-9029 device.)
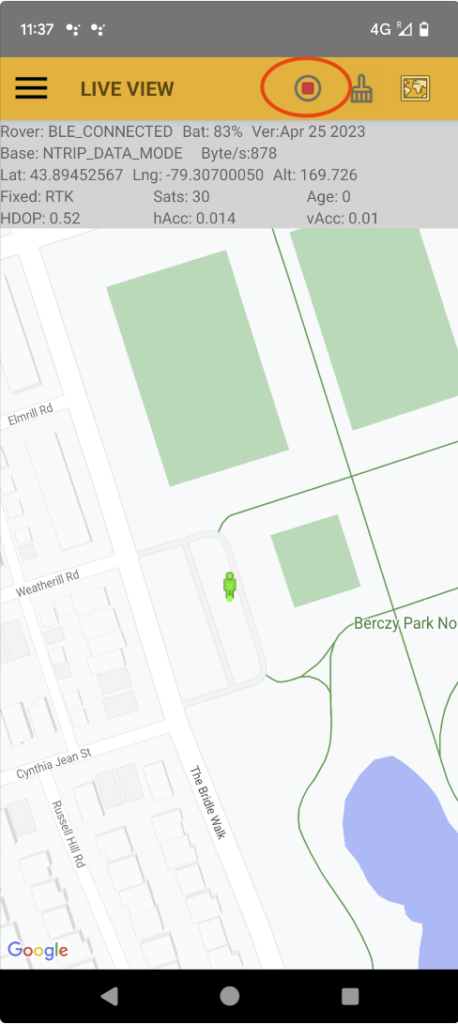
Keep an eye out for the small icon of a person right at the center of the screen. Once the GNSS locks onto the RTK position, the color of the person icon will switch to green. You’ll also see the “FIXED_RTK” status appear, confirming the successful fix.

You could trigger the start and end data logging by press “record” button.
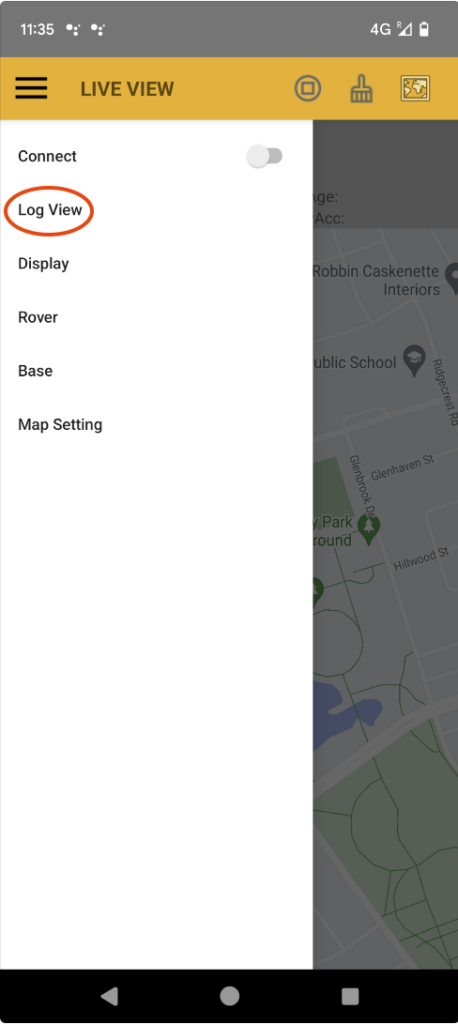
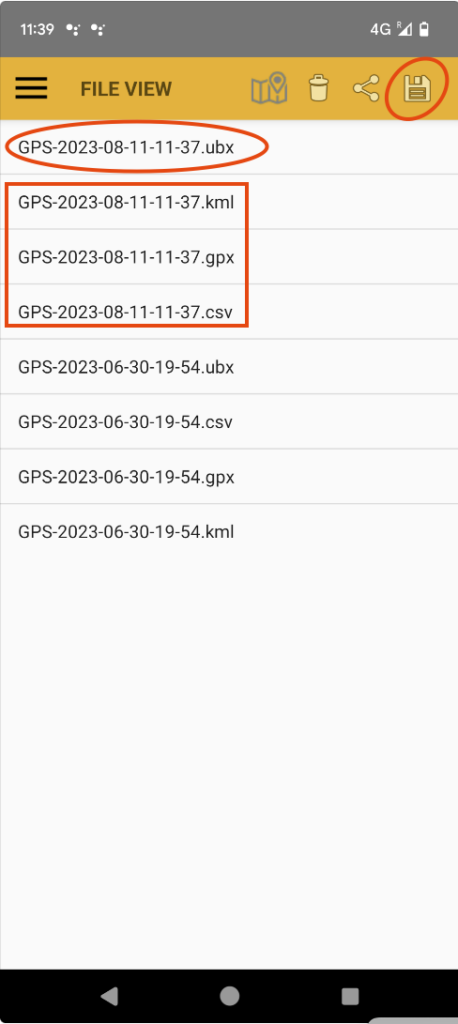
Your log file will be stored on your Android device. You can locate these log files in the “log view” menu, which can be accessed by clicking the hamburger icon. These log files will be in the “.ubx” format initially. If needed, you can tap the “disk” icon to convert and save them in other formats like CSV, KML, and GPX.
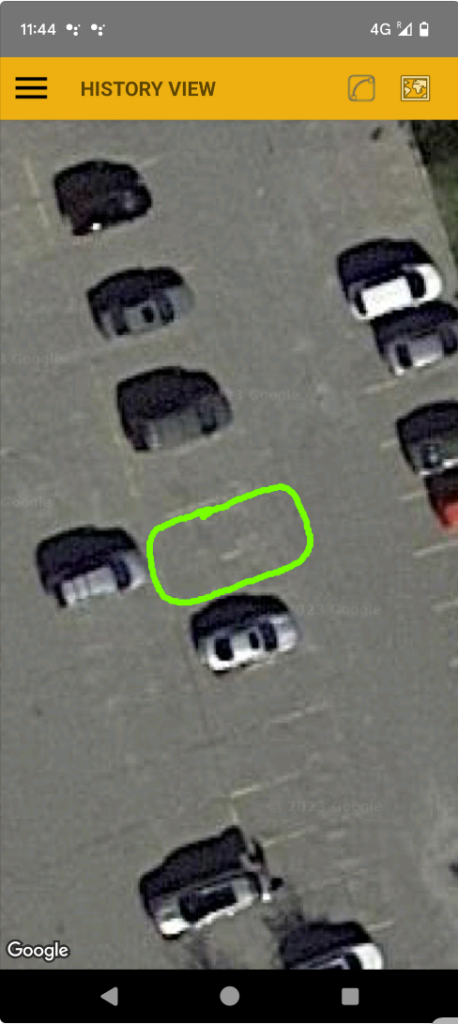
You can view the log file using the built-in Google Maps feature in this app. You have four map type options: normal, hybrid, satellite, and terrain. In the screenshot below, you can see a track that I recorded while walking around a car in a parking lot. The log file is displayed using the satellite map type in Google Maps.
Your GR-9029 RTK GNSS data logger is up and running, enabling highly accurate centimeter-level data logging.
Navisys GR-9029 RTK GNSS can be purchased from:
https://gpswebshop.com (US & WorldWide)
https://canadagps.ca (Canada)