Prerequisite:
- Navisys GR-903 RTK GNSS receiver.
- Android phone or tablet with internet access.
(Internet access is required for streaming NTRIP correction data to an internet NTRIP caster.)
Setup Instructions:
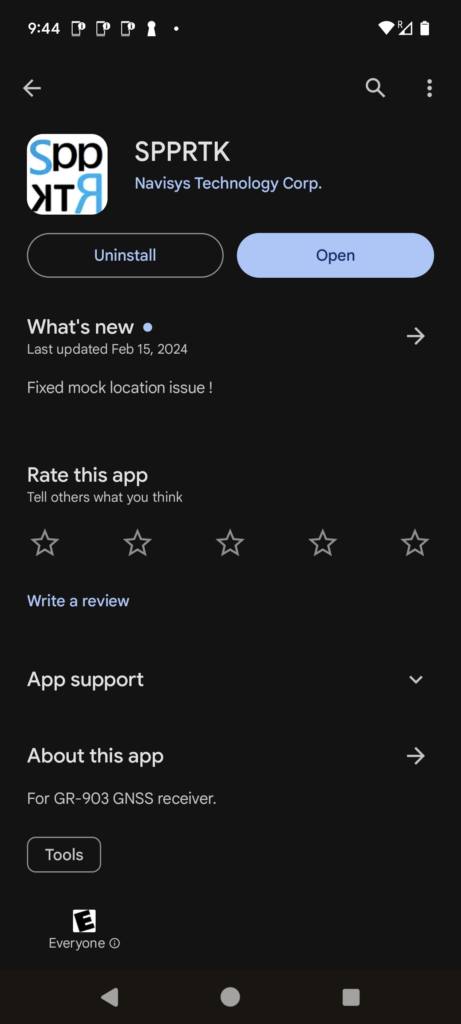
- To fully utilize the GR-903 RTK GNSS, users need to initially download the free “SPPRTK” app from the App Store.

Here’s a screenshot of the app for your reference.

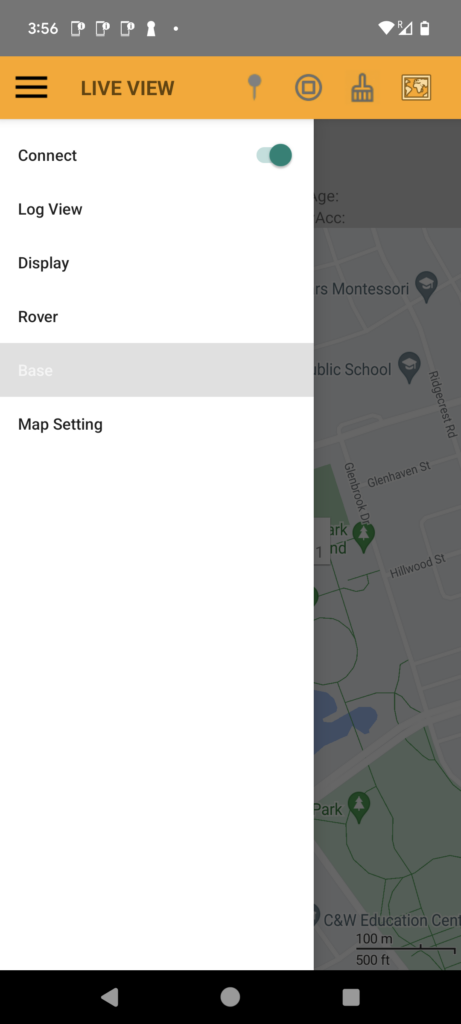
2. Open the app and tap the hamburger icon to open the menu.

3. Tap “Base”.

4. Tap the Base Source, then select “Bluetooth SPP” as the Base Source.


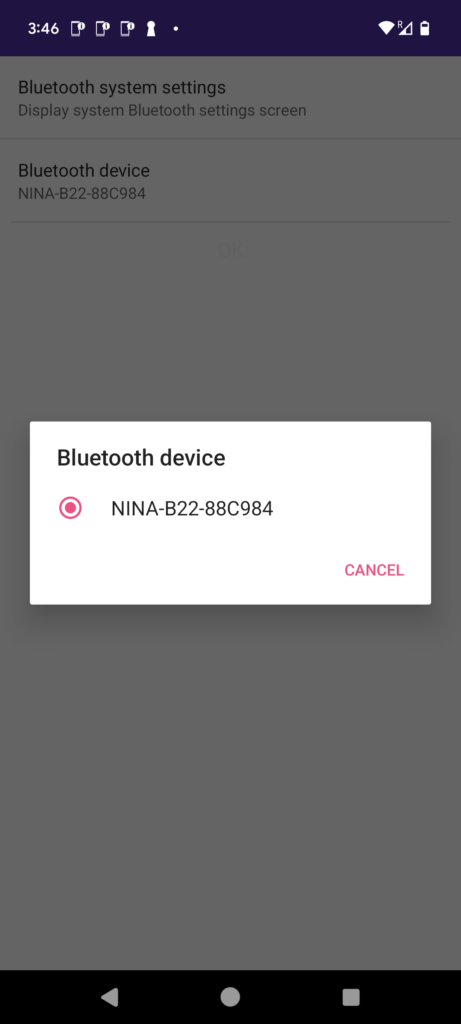
5. Please make sure your GR-903 RTK GNSS is powered on. Tap the “Stream settings” and further tap the “Bluethooth System settings” screen, You will see the below “Connected device” screen.

6. Select the “+ Pair New Device” option if you haven’t done so previously, and from the list that appears, choose the GR-903 device identified by a name similar to “NINA-xxxxxxx”.

7. Pair the “NINA-xxxxxxx”.

8. Once “NINA-xxxxxxx” is connected, click the back arrow to return to the previous menu level. Then, select “Bluetooth Device” and choose “NINA-xxxxxxx”.


9. Navigate back to the main menu. Then, select “Base Position.”

10. Ensure that the “Survey-in Duration (sec),” “Survey-in Accuracy (mm),” and the “Survey-in When Connected” options are set. The default values (30, 3000, checked) are suitable for most scenarios. You may retain these settings unless you have specific requirements to meet.

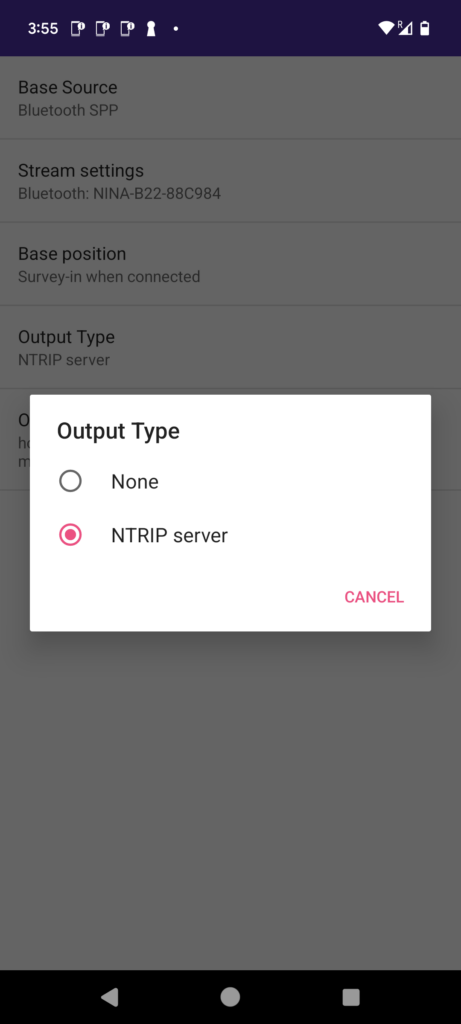
11. Click the back arrow to return to the main menu. Then, choose “Output Type” and select “NTRIP Server.”

12. Tap the “Output Stream Settings”. Please input your NTRIP caster mount point settings including Host, Port, Mount Point and password. These NTRIP settings are typically supplied by your NTRIP Caster provider.

In case you don’t have a NTRIP caster provider yet, you could use GeoAstra NTRIP Caster. It comes with a few service plans including “free” plan. Please visit www.geoastra.com and register. GeoAstra NTRIP Caster is incredibly user-friendly. With just a few clicks, you can sign up and obtain your free NTRIP caster mount points, and start using them in under 20 seconds.
You’re all set with the necessary settings. These settings only need to be inputted the first time.
Operation Instructions:
Whenever you wish to use the RTK Base station and the NTRIP service, simply place the GR-903 in your desired deployment location and power it on. Turn on the “connect” switch in the hamburger menu in the BLERTK app.
(It’s advisable to position the GR-903 under an open sky without obstructions like trees or buildings. Ensure that your mobile phone running the SPPRTK app is within a range of 100 feet from the GR-903 device.)

You’ll notice the “Base Accuracy” reading displayed at the center of the screen, along with the “BT_SURVIN” status indicating the Base field.

After about a minute or two during the Survey-in phase, this reading will stabilize. Your GR-903 RTK base station status will then change to “BT_BASE.”

Your GR-903 RTK Base is now operational. Rovers can connect to it via NTRIP, allowing them to achieve highly accurate centimeter-level positioning.
If you’re looking for a RTK Base Station GNSS Receiver, you can purchase it from:
https://gpswebshop.com (US & WorldWide)
https://canadagps.ca (Canada)

