This document serves as a guide for connecting a USB GPS receiver to your Linux computer. Please keep in mind that the instructions provided are based on Ubuntu. If you are using a different Linux distribution, there might be slight variations, but the general process should remain largely the same.
1. Plug in the GPS receiver
Once you have connected the GPS/GNSS receiver to a USB port, the system should automatically configure it. To confirm the connection, enter the following command:
ls /dev/tty*
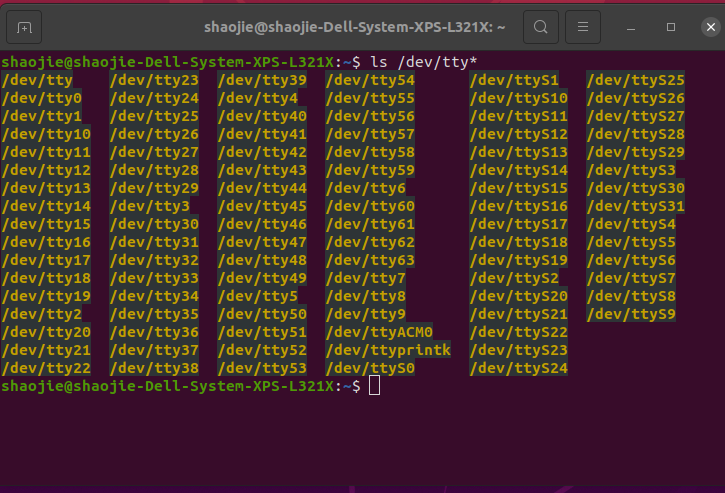
You will see the “/dev/ttyACM0” has been created automatically(above screenshot).
(Special note for Columbus V-800 Mark III, P-7 pro, P-70 Ultra, Navisys GR-U01, GM-U01, GR-M02, GM-U01, or GeoAstra RTB609BT, RTU609BT GNSS receiver)
- You will see “/dev/ttyUSB0” or “dev/ttyUSB0” “dev/ttyUSB1” instead. Since the default baud rates for Columbus V-800 Mark III / Navisys GR-U01/GM-U01 is 38,400, Columbus P-7 Pro is 57,600 and Navisys GR-M02/GM-M02 is 115,200, Please run the below command to change the baud rate.
- for Columbus V-800 Mark III / Navisys GR-U01/GM-U01:
sudo stty -F /dev/ttyUSB0 38400- for Navisys GR-M02/GM-M02 or GeoAstra RTB609BT, RTU609BT:
sudo stty -F /dev/ttyUSB0 115200- for Columbus P-7 Pro:
sudo stty -F /dev/ttyUSB0 57600- for Columbus P-70 Ultra:
sudo stty -F /dev/ttyUSB0 230800
To further verify if the GPS has been found in this folder. please type
sudo cat /dev/ttyACM0(Special note for Columbus V-800 Mark III, P-7 pro, P-70 Ultra, Navisys GR-U01, GM-U01, GR-M02, GM-U01 or GeoAstra RTB609BT, RTU609BT )
- Please type
sudo cat /dev/ttyUSB0

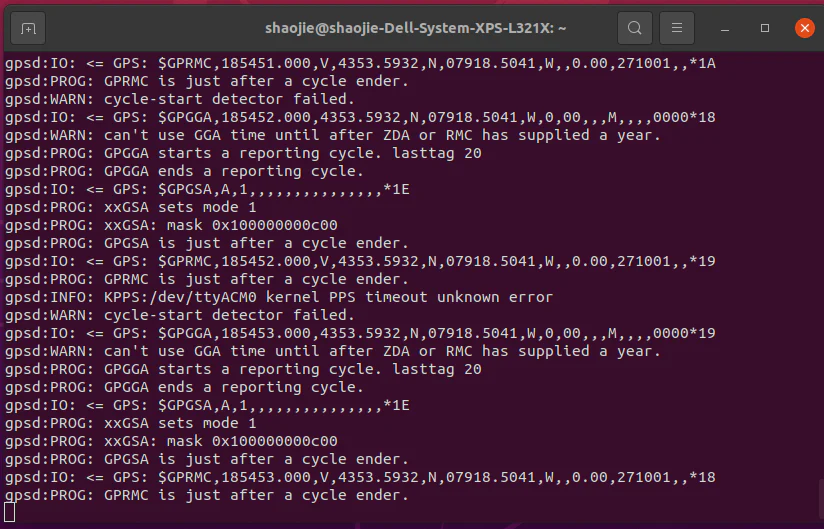
The GPS input stream will appear similar to the following.
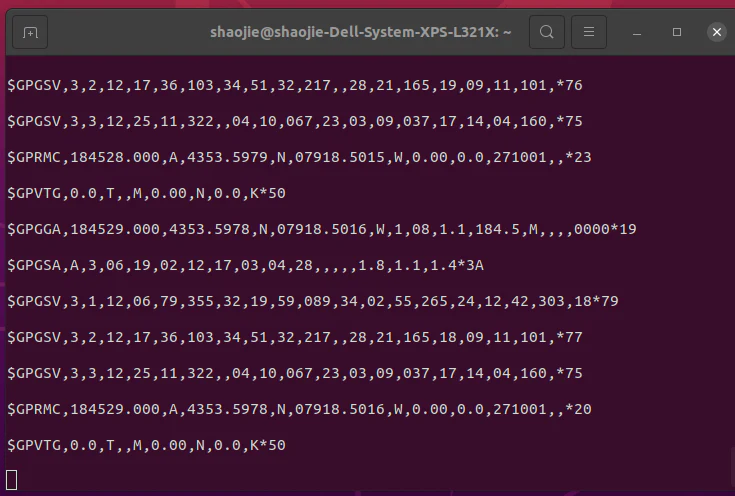
If you can see the above, it means that your GPS receiver is functioning correctly with your Linux computer.
2. Install gpsd
The next step in the installation process is to bind the “gpsd” daemon to the GPS receiver. This allows applications on Linux to access the GPS receiver through the “gpsd” daemon.
The purpose of “gpsd” is to establish a connection between applications and the GPS receiver hardware. It manages USB GPS devices, relieving applications from directly handling the hardware. By properly setting up “gpsd” with GPS receiver hardware in Linux, most GPS location-aware applications can retrieve GPS data by calling upon “gpsd”. Additionally, “gpsd” shares the GPS receiver among all applications running on the Linux machine.
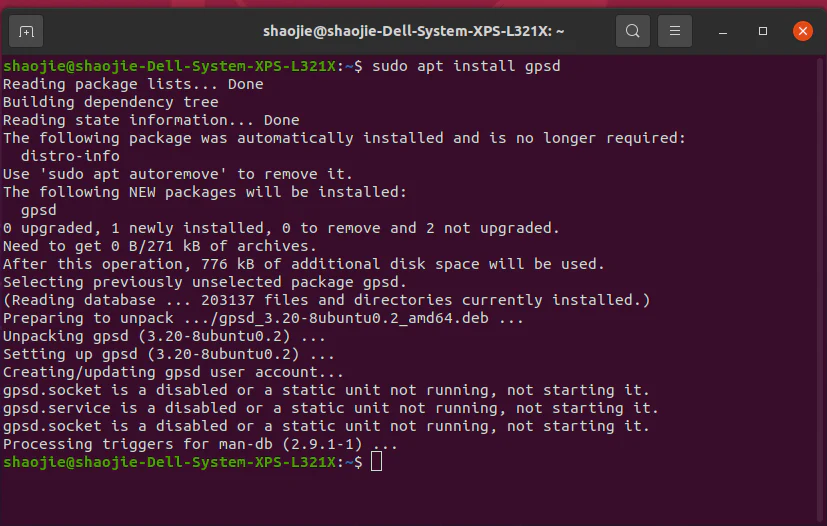
To install “gpsd”, simply type the following command:
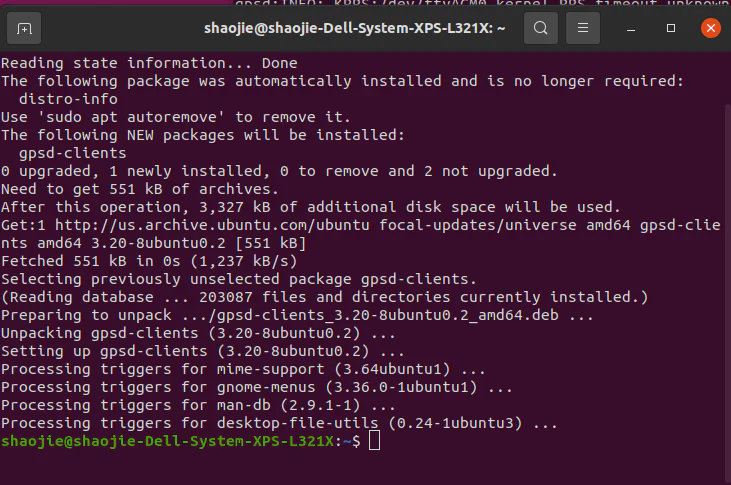
sudo apt install gpsd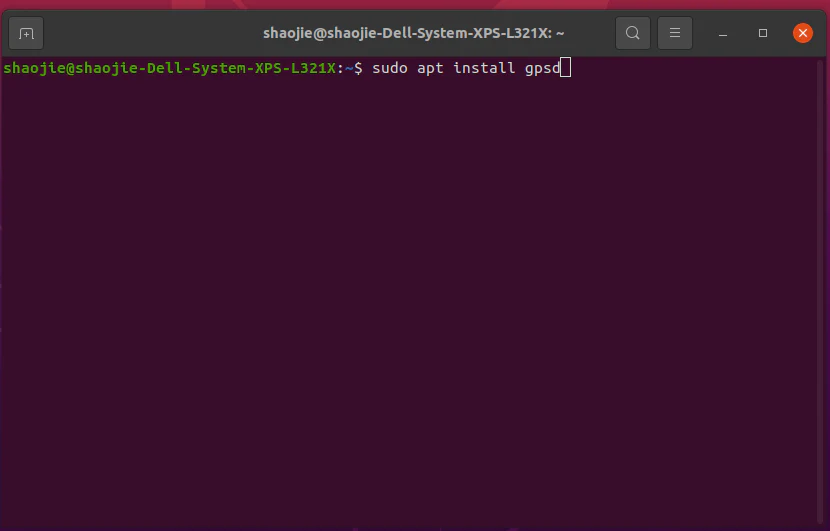
The computer displayed a response similar to the screenshot below.
3. Test gpsd with xgps (optional)
If you are confident that the GPS is already functioning correctly, you can skip this section and proceed to section 4.
To initiate gpsd in interactive mode, enter the following command.
sudo gpsd -D 5 -N -n /dev/ttyACM0(Special note for Columbus V-800 Mark III, P-7 pro, P-70 Ultra, Navisys GR-U01, GM-U01, GR-M02, GM-U01 or GeoAstra RTB609BT, RTU609BT GNSS receiver)
- please type
sudo gpsd -D 5 -N -n /dev/ttyUSB0
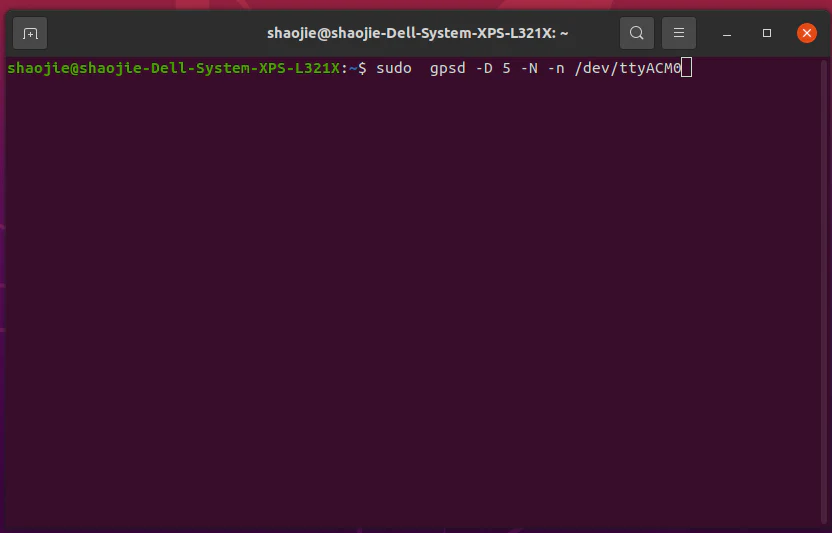
It shows.
Now the GPS signal should be available for applications. Although it is not mandatory, it’s a good idea to confirm this by using a tool called “xgps”. “xgps” is included in the gpsd-clients package.
To install gpsd-clients, open another terminal session and enter the following command:
sudo apt install gpsd-clients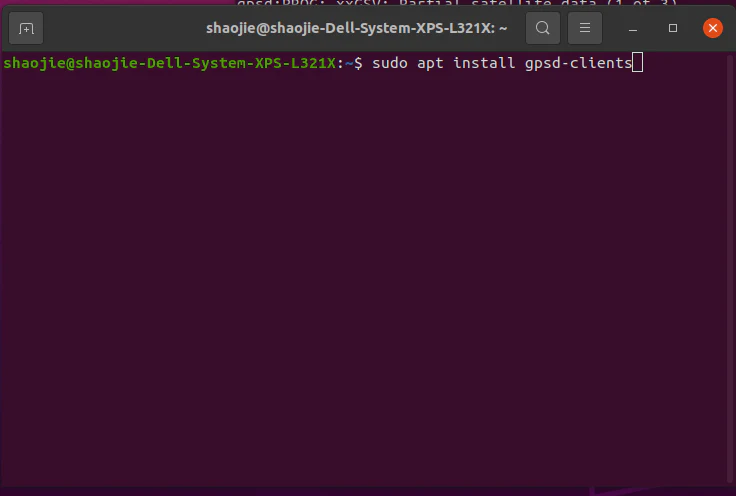
Above screenshot shows the “gpsd-clients” has been successfully installed. Now type
xgps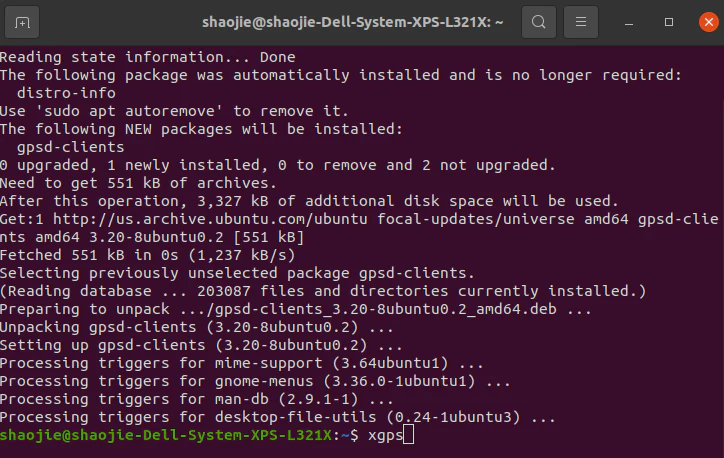
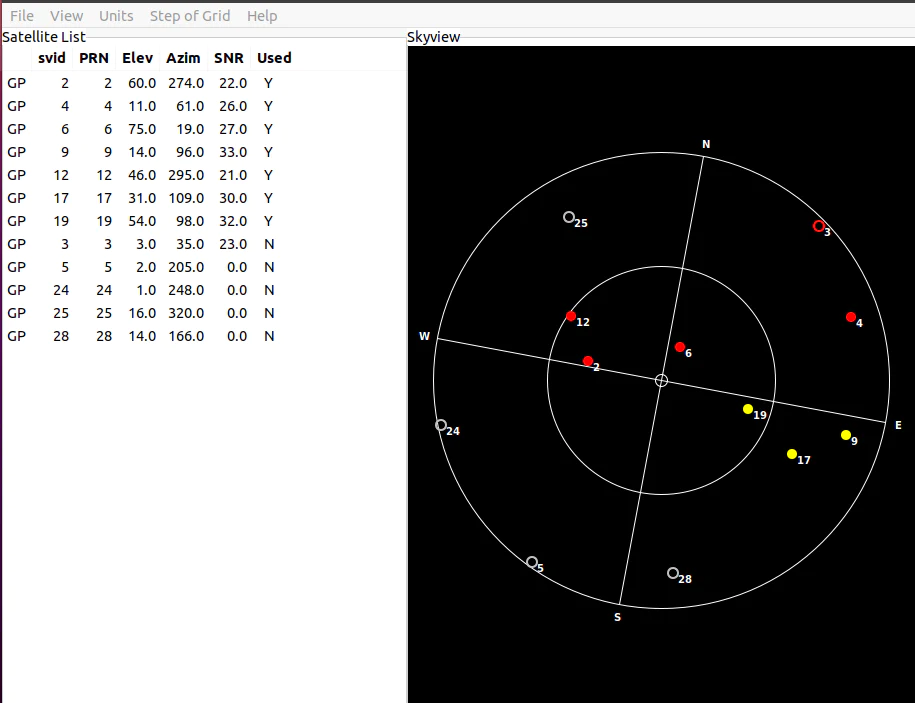
When the GPS signal is available, the xgps tool should display a similar interface as shown below.
4. Make gpsd available on boot.
To enable automatic startup of gpsd on boot, update the /etc/default/gpsd file as shown below.
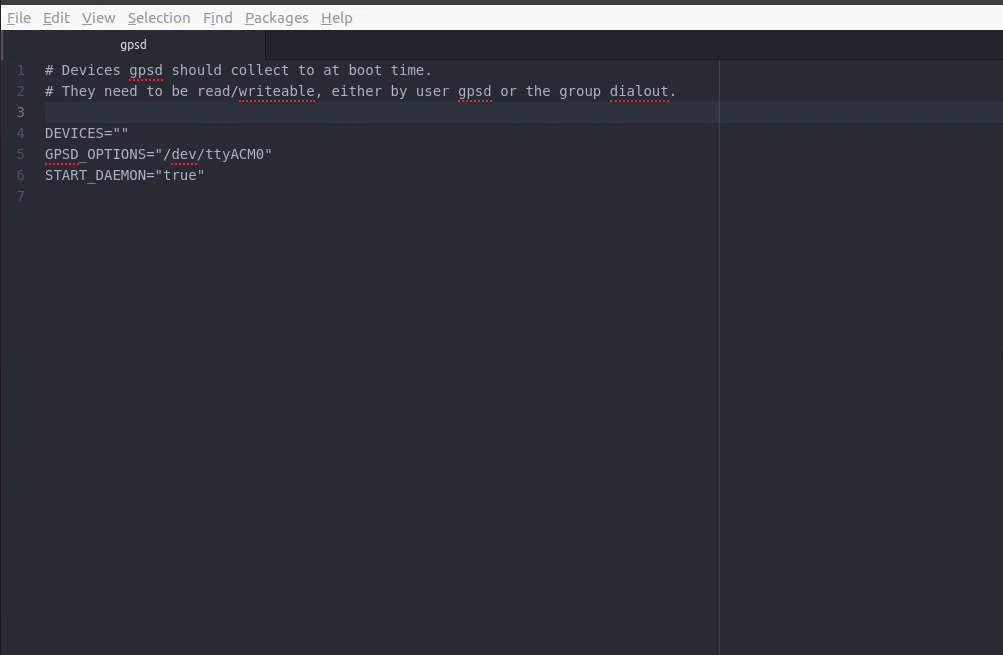
Please make sure
GPSD_OPTIONS="/dev/ttyACM0"is included in the “gpsd” config file above. Restart your computer.
(Special note for Columbus V-800 Mark III, P-7 pro, P-70 Ultra, Navisys GR-U01, GM-U01, GR-M02, GM-U01 or GeoAstra RTB609BT, RTU609BT GNSS receiver)
- please make sure
GPSD_OPTIONS="/dev/ttyUSB0"
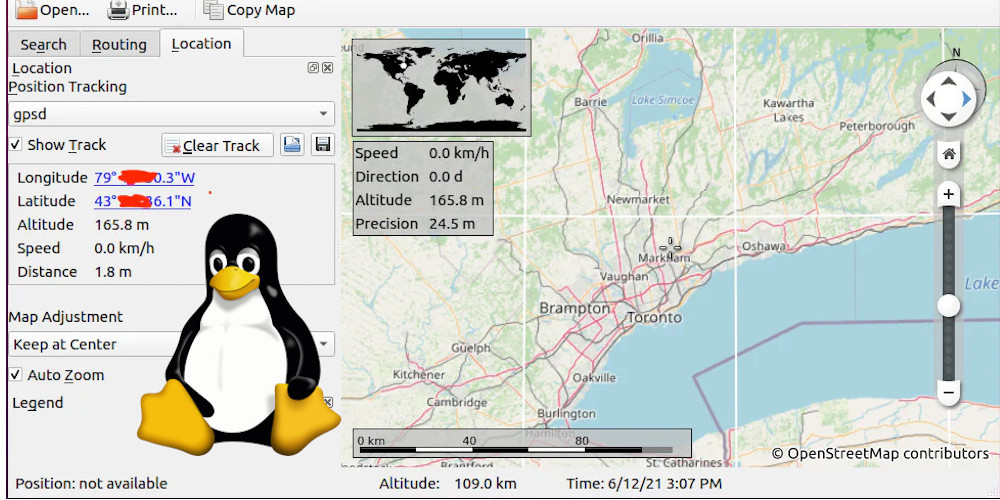
5. Ready to serve
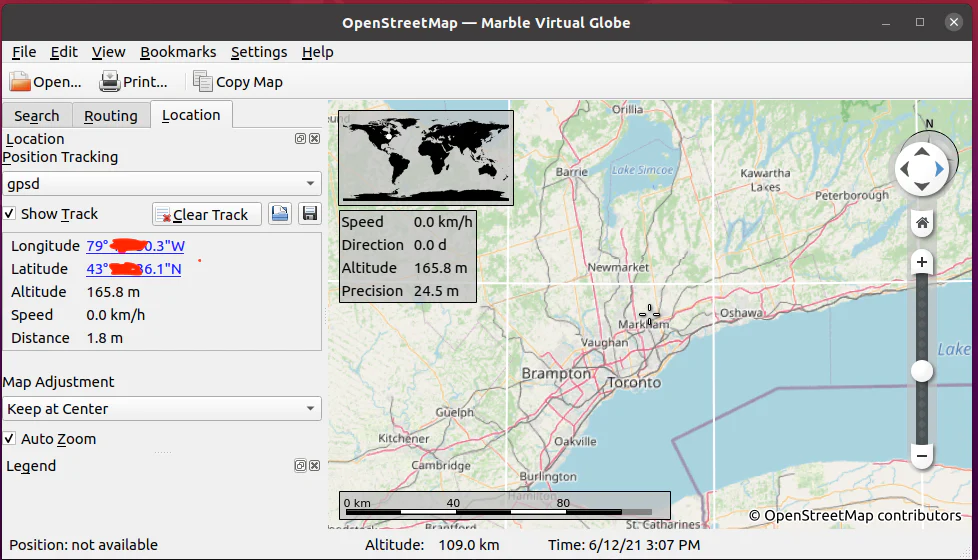
Now your GPS applications can utilize ‘gpsd’ to retrieve GPS data. For instance, the screenshot below demonstrates the ‘Marble’ application running on Linux, fetching GPS data from ‘gpsd’.
We have tested the below USB GPS/GNSS receivers
- GNSS100L
- GNSS200L
- Columbus V-800 Mark II
- Columbus V-800+
- TOP608BT
- Columbus P-10 Pro
- Columbus V-800 Mark III
- Columbus P-7 Pro
- Columbus P-70 Ultra
- Navisys GR-903
- Navisys GR-U01
- Navisys GM-U01
- Navisys GR-M02
- Navisys GM-M02
- GeoAstra RTB609BT
- GeoAstra RTU609BT
- GeoAstra RTU608BT
work with this instruction.
If you’re looking for a GPS / GNSS Receiver mentioned above, you can purchase it from:
https://gpswebshop.com (US & WorldWide)
https://canadagps.ca (Canada)